We recommend you run your power and control cables down one side of your rack, and your signal cables down the other. It is not a good idea to run speaker or audio cables parallel to electrical cables. Keeping them on opposite sides of the rack will assure that you have no interference. When you think about the cable lengths, it is not the distance between components, but the distance from the connector, over to the side, down, then over to the connecting end, with enough slack at each end for service and reducing cable stress.
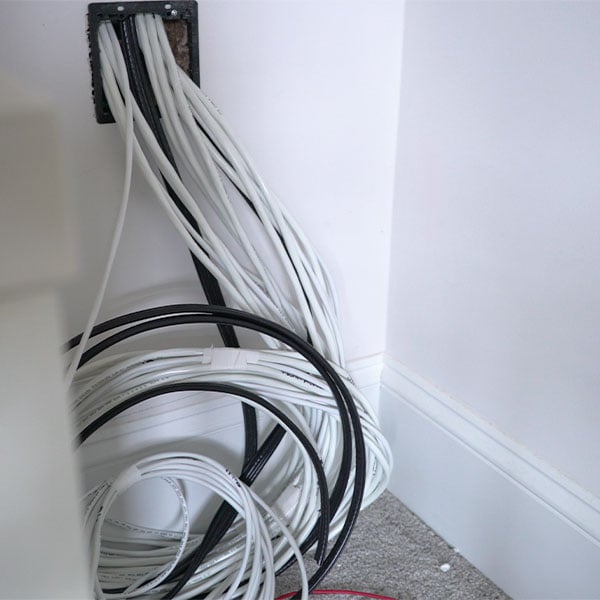
If you have some extra cable, you can simply coil it, wire tie it, then you have room if you need to move things around later.
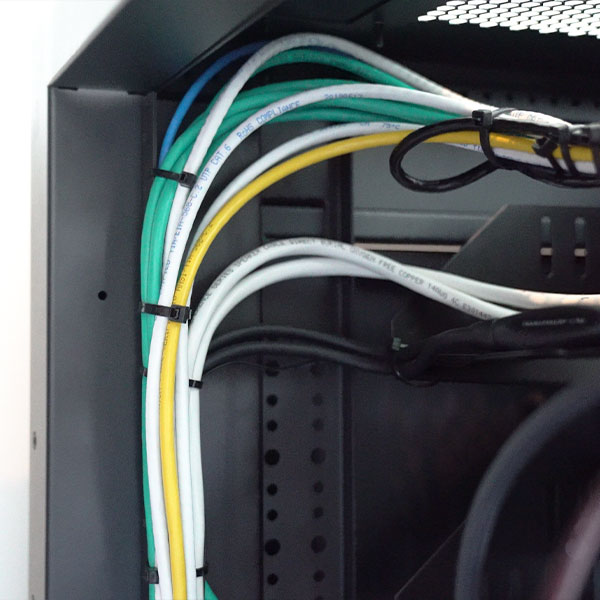
Pro Tip: HDMI cables are more sensitive than others to fall out of their jack. Use wire ties to keep the pressure off them so they will stay plugged in. This actually applies to all cables but is especially important with HDMI cables.
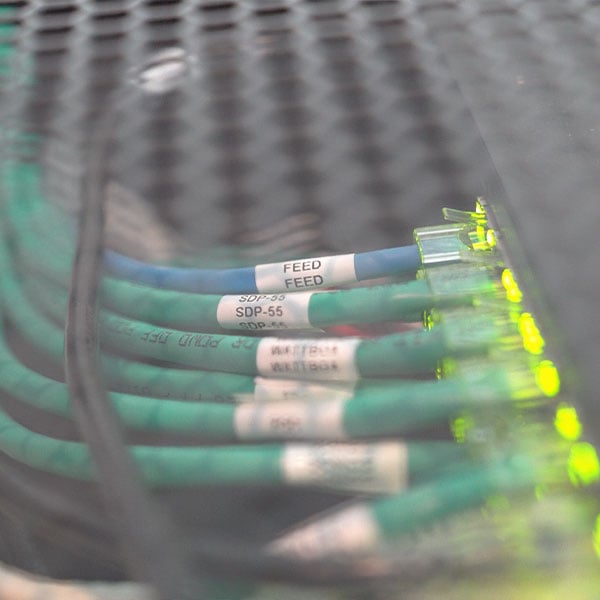
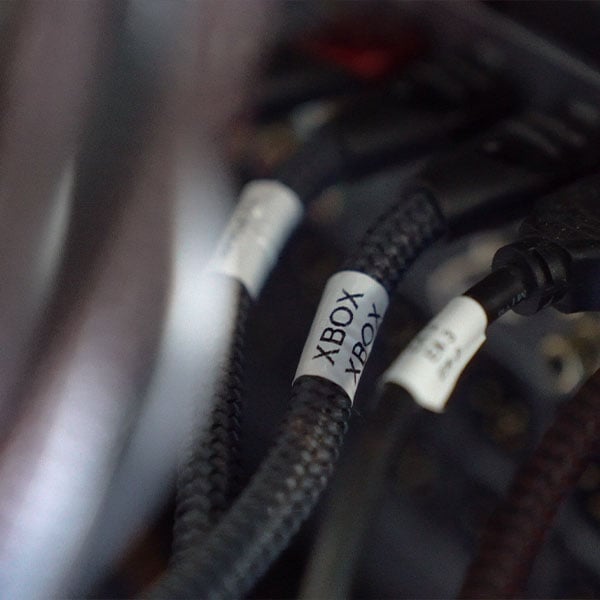
Color coding your cables is another way to make servicing simpler. You can do this with different color cables or colored electrical tape at the ends where you need to quickly identify them.
We have seen lots of incredibly beautiful equipment racks where every cable is the exact length needed to get to the connector and no more. While these look good initially, changing components or serving this type of layout can be a future nightmare. It is better to sacrifice a perfectly neat look from the rear for a wire layout where you have some slack for expansion and cable tension reduction.
Pro Tip: Once you have everything planned and are ready to start wiring, find an office-type swivel chair on wheels and sit in that as you wire things up. Get one of these headlamp lights from your hardware store and have your wire ties and cutter on a table next to your chair. Cut the wire ties as close as possible to the connector with a sharp pair of snips to prevent sharp edges.