 Home Theater
Show links
 Speakers
Show links
 Components
Show links
 TVs & Projectors
Show links
 Seating & Furniture
Show links
 Acoustic Treatments
Show links
 Cables & Accessories
Show links
 Featured & Deals
Show links
 Home Audio
Show links
 Speakers
Show links
 Components
Show links
 Cables & Accessories
Show links
 Outdoor Entertainment
Show links
 Acoustic Treatments
Show links
 Featured & Deals
Show links
 Turntables
Show links
 Turntables
Show links
 Phono Cartridges
Show links
 Phono Preamps
Show links
 Record Cleaning & Care
Show links
 Isolation Systems
 Cables & Accessories
Show links
 Featured & Deals
Show links
 Headphones
Show links
 Headphones
Show links
 Headphone Amps & DACs
Show links
 Featured & Deals
Show links
 Smart Home
Show links
 Deals
Show links

Replacing the multi-award winning and five times "What Hi-Fi?" Product of the Year, the Rega Planar 3 was quite a task for the team at Rega. It took them two years to develop the all new Planar 3. Their team improved every aspect of this turntable; offering first and foremost, incredible sonic performance, and improved ergonomics and usability. With just a few simple steps, you will be able to hear your vinyl like never before on the new Planar 3.
It is important for the platform to be level so the turntable will properly track your records. Try to avoid placing the turntable in front of your speakers or on the same surface your speakers are sitting on if they have the ability to reproduce deep bass tones.


The yellow sticker details when the turntable was inspected.

The top pulley is 33. The bottom pulley is 45, To switch from 33 to 45, simply lift off the belt and move the platter.

.jpg?v=1724088737481)
The numbers on the dial should be facing the front of the tonearm. Turn the whole weight until it's towards the middle of the rod.


Also, make sure the anti-skating slider is set to zero.

It just pulls straight down. It’s a good idea to keep the guard in case you ever need to move your turntable.


Lower the cueing lever. Carefully move the tonearm over the platter with one hand while holding it up above the mat. With the other hand, start turning the rear counterweight until you feel the arm start to float. If you feel the arm moving down in your hand, you have too much weight forward, so slowly move the weight backward by turning it. If it is moving up, you need more weight, which you accomplish by moving the weight towards you. The idea is to get the tonearm to “float” above the mat. Once you have the tonearm floating, move it back into the tonearm rest.
If your Planar 3 came with the Elys cartridge, you should set the dial to 1.75. This point is half way between the scale for 1.5 and 2 on the dial. If you upgraded to a better cartridge, use the tracking force on the card we included with your cartridge.

On the base of the tonearm, you will see a small slot with a rod sticking up through the slot. Slide the rod until it lines up with the number closest to the recommended tracking force. If you are shooting for 1.75 set it just slightly under the number 2. When you are done your tonearm should look like the picture below.

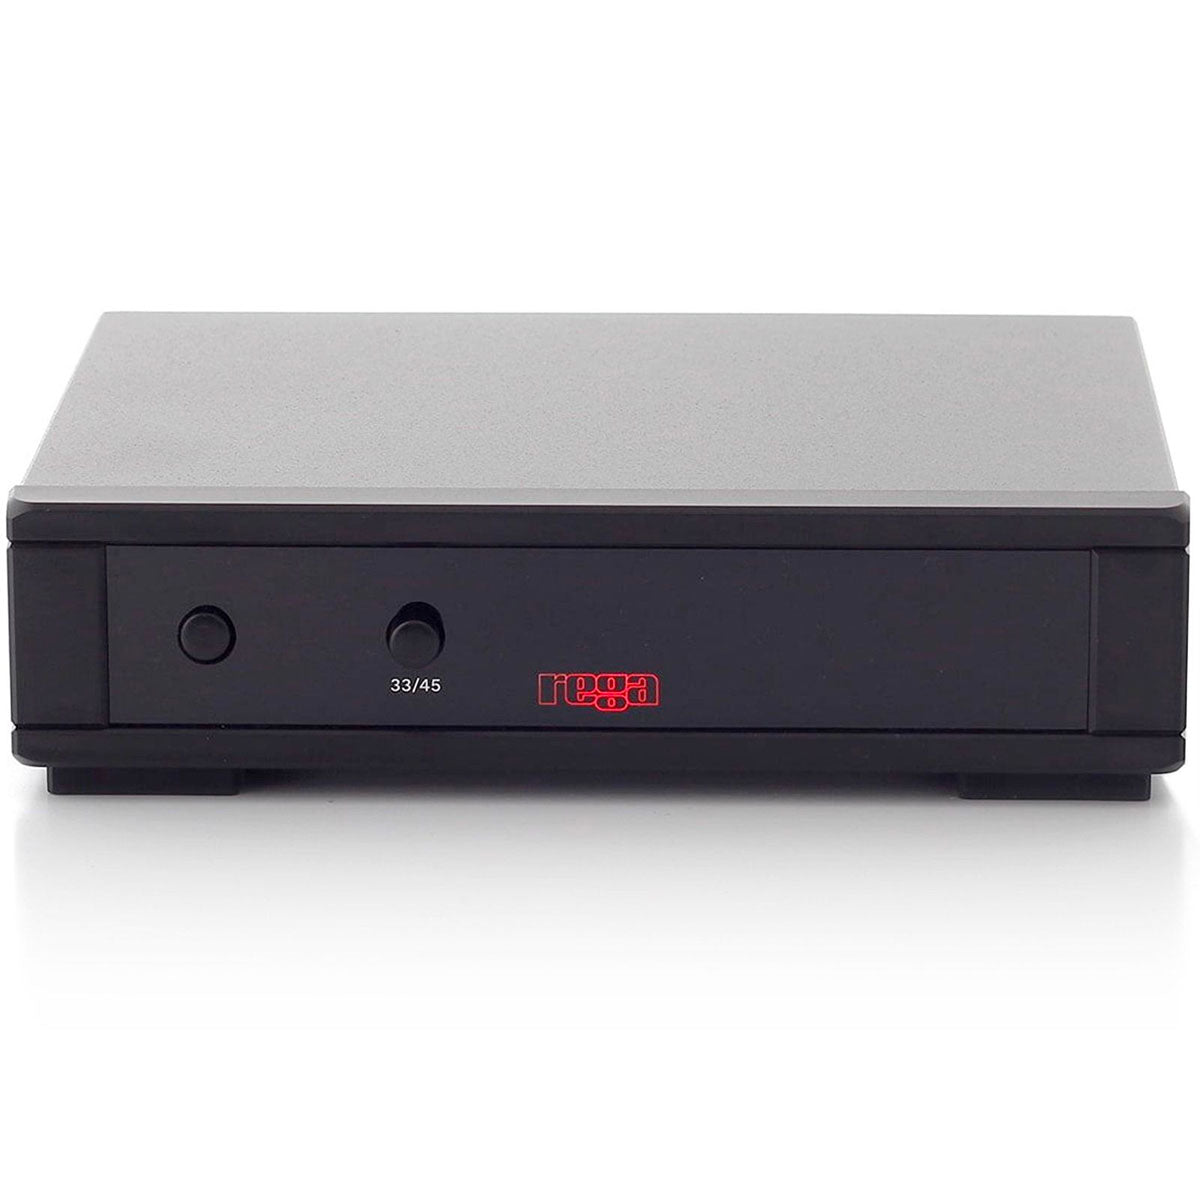
The other connection spot you will see is for the optional TT PSU power supply.

You will need a phono stage to play your turntable. The red cable goes into the right channel input, and the black goes into the left channel input.

They will fit into the back slots. The dust cover can be removed by lifting the hinges out.


Should you ever need to transport your turntable more than across the room, it's a good idea to remove the platter and lock the tonearm down with a twisty tie. You might also consider placing the stylus guard back on.
We hope you enjoy your new turntable for many years to come. If you haven't bought one yet, we'd really appreciate your business!
You'll be among the first to know about product launches, exclusive online deals, and the hottest audio trends.
8621 Glenwood Ave
Raleigh, NC 27617
919.881.2005
11409 Carolina Place Pkwy
Pineville, NC 28134
704.821.4510
5732 Oleander Drive
Wilmington, NC 28403
910.392.1200
support@audioadvice.com
888.899.8776


