 Home Theater
Show links
 Speakers
Show links
 Components
Show links
 TVs & Projectors
Show links
 Seating & Furniture
Show links
 Acoustic Treatments
Show links
 Cables & Accessories
Show links
 Featured & Deals
Show links
 Home Audio
Show links
 Speakers
Show links
 Components
Show links
 Cables & Accessories
Show links
 Outdoor Entertainment
Show links
 Acoustic Treatments
Show links
 Featured & Deals
Show links
 Turntables
Show links
 Turntables
Show links
 Phono Cartridges
Show links
 Phono Preamps
Show links
 Record Cleaning & Care
Show links
 Isolation Systems
 Cables & Accessories
Show links
 Featured & Deals
Show links
 Headphones
Show links
 Headphones
Show links
 Headphone Amps & DACs
Show links
 Featured & Deals
Show links
 Smart Home
Show links
 Deals
Show links

If you are reading this article, you are probably trying to figure out the best way to get your brand new phono cartridge mounted on your turntable. For those of you new to the vinyl hobby you might be wondering what you got yourself into. Those wires can look pretty tiny and the connections fragile, which they are. But, with some detailed instructions, patience, and good lighting, you will soon be a pro.
As an audio store that has been in business for over 4 decades, we have mounted thousands of phono cartridges on all kinds of turntables. The steps to take are very similar for almost all types of turntables with the only variable being how the cartridge attaches to the tonearm or headshell. That is the easy part though, it’s those tiny wires and connectors you need to be careful with, then getting the cartridge aligned is another step that requires patience.
First, find a spot for your turntable where you can sit down and have it as close to eye level or a little below as possible for the first phase. If you need to put it on a table and sit on your knees that can work too, we suggest putting a pillow underneath your knees as you will be there for a while.
Make sure the area is well lit, and those little headlamps you can buy at a hardware store come in really handy if your vision is not what it used to be. Another tip is to look at the screws or bolts holding your current cartridge to the tonearm, as well as the ones you will use on your new cartridge. Usually, these use a small flat blade type screwdriver or an allen head bolt. Find a small screwdriver and if you do not have one, buy one. There is nothing worse than a big screwdriver slipping out and scratching your tonearm. If the bolt is an allen key, find the right sized one before you begin.

You are also going to need a small pair of short needle-nosed pliers. A good pair that is spring-loaded will run you $20-$30 and is well worth the investment to save you the huge headache that will occur should you break one of your cartridge wires with a pair that is oversized or clumsy to use.
There are four wires attaching the tonearm leads to your phono cartridge. You will observe a round sleeve that goes over the post on the rear of your cartridge that extends into a flat tab where the tonearm wire attaches to it.

If you have a turntable with a bayonet-type headshell that comes off, you will want to go ahead and do that.
First, let’s remove the old cartridge. If you have the protective cover for the old one, go ahead and put it back on to keep things safe. We like to start at the bottom, so take the bottom connection closest to you. Grab the flat part of the sleeve with your pliers as close as you can to the post, gently and slowly rotate it a tiny bit to loosen it up, then very gently pull it off the post. Repeat this for the other three.

Now you can remove the screws holding your old cartridge on and put it aside.
Take a look at your new cartridge. If it has color-coded posts, you can skip this step. Many cartridges do not have color-coded posts and will have a tiny R, L, +, - near the posts. Usually, the plus or minus symbol is at the top and bottom and the right and left in the middle. You will be able to see these a lot easier now than when you get your cartridge on your tonearm.
If they are hard to see, we like to make a small drawing that shows us where each is positioned, like the one you see below.


Luckily, there is also a universal color code for phono cartridge leads. Red= Right Positive, Green= Right Negative, White= Left Positive, and Blue= Left Negative. You will need to know these if your cartridge posts are not color-coded.
Now, leaving the stylus guard on your new cartridge, use the supplied mounting screws or bolts and install it on your headshell. We suggest you move it as far forward in the shell as possible which gives you more room to make the wire connections. Go ahead and tighten the screws down gently so it does not move around.


We are now getting to the part where many people get in trouble due to one of three things that might happen. We are going to cover all three and how to prevent you from breaking one of those fragile wires.
A mistake many people make when making the connection of the tonearm wire to the cartridge post is grabbing the wire at the same spot they used to pull it off with. What happens is, you are trying to push the sleeve on the post, it is too tight, your pressure causes the flat part of the connector to fold over and break off. That is a bad day! When you are putting the wires on your new cartridge you want to gently grab the middle to rear part of the sleeve. This is also why we wanted you to get needle-nose pliers with a spring, it just makes it easier to get the right amount of pressure. Ok, so that covers the first potential pitfall. Now do a quick check to see if the sleeve will slide on snugly to the post. If not, you need to read about the next potential thing to solve.

While there is a universal color code, there is no universal sizing for cartridge posts. If your old cartridge posts were on the large side, and your new cartridge posts are on the smaller side, your sleeves will not fit tightly enough for a good connection as they were stretched out when they were installed on the large post. And the opposite could also be true. You could have had smaller posts, where the sleeve had to be squeezed to get it to stay tight, and now it is too small to go over a larger post.
Fixing this is a bit tedious but not too difficult. If you slide on the sleeve and it is too loose you are going to tighten it just a tiny bit. The potential pitfall here is when you are trying to tighten it, you will accidentally go too far and compress it totally. To prevent this, we like to stick a small round toothpick into the sleeve which will prevent you from compressing it.v

Usually, the sleeve has a break in it that will be visible. Very gently squeeze the sides of the sleeve together until that break is almost connected. That should get you to the right point. You will need to do this for all four wires.
If you have the opposite problem, find a round pointed tool like an awl or a round toothpick. Grab the sleeve with your pliers in the middle of the sleeve. Do not grab it by the back flat portion! Now with your other hand, gently press the round tool or toothpick into the sleeve so it expands ever so slightly at the end. This will be good enough as the rest will expand as you slide it on.
We prefer to slide the sleeves on from the top to give us more room, you should be able to successfully do this now for all four following the color code or diagram you made and color code. Just be gentle as you slide the sleeves on. We can not tell you how many times we have broken those little tabs ourselves by going too fast or putting too much pressure and something slips or gives. Take your time.
After you are done with this step, do a rough balance of your turntable tracking force, but do not apply any anti-skate. Your turntable manual should walk you through these steps, but we also have a large variety of setup videos on how to do this for the majority of the turntables Audio Advice carries.
It is now time to align your cartridge. Some Rega turntables and cartridges make this really simple as the headshell and cartridge have 3 screws instead of the normal 2 and it self aligns. For everything else, we will dive in now.
For this step, it is best if you are looking down on your turntable and able to get at eye level with the tonearm. Hopefully, you still have the alignment gauge that came with your turntable originally. If not, you might be able to print one out online from your turntable manufacturer, then very carefully punch out a hole the size of your turntable spindle. You can also purchase cartridge alignment tools, including the MoFi Geo-Disc, Ortofon alignment tool, Pro-Ject Align It DS2, and the Pro-Ject Align It.

The idea is to get the tip of your stylus to be in the tiny point on the setup gauge with the body of the cartridge squared up to the grid on the gauge. If your gauge is thin, like a piece of paper, put an old LP record on your turntable. Some gauges are made to be the thickness of a record, if you have one of those, no need for the old record. There are many gauges that have two points to check, but if you get one spot on, the other one should be too, they are more to make sure you have the cartridge square to the grid.
Lining things up is purely trial and error and will take some patience and good lighting. Slightly loosen the screws or bolts holding your cartridge to the headshell. Simply move it back and forth until you get the stylus tip to land in the small dot on the gauge. For most turntables, if the cartridge body is square to the headshell, it should line up with the lines on the gauge. One very good way to see this is to get at eye level with the gauge and look at the front of your cartridge. The cantilever (the small round shaft coming out of the cartridge body the stylus is on the end of) should be in line with the lines on the gauge. Just be very careful during this process to not snag your stylus on the gauge or your fingers. Using the cue lever to lower it down, takes more time, but is safer.
Once you are satisfied you have things lined up, very carefully tighten the screws. We like to alternate back and forth a couple of times to keep the cartridge from moving. You want these pretty snug, but not excessively tight.
You will now want to reset the tracking force as per the amount recommended by your new cartridge and set the anti-skate to the same amount.
If your turntable has vertical tracking angle (VTA) adjustments, you will want to check that if your new cartridge is different in height from the old one. For this, use a record, lower the tonearm and look at it from the side. If your tonearm is a continuous shape and not tapered, it is pretty easy to just make sure the surface of the arm looks to be the same height at both ends in relation to the record. If your tonearm is tapered, you will need to look at the headshell. Simply adjust the height of your arm using the VTA settings to get it as close to parallel to the record as possible.

As a side note, some Rega turntables require spacers. We found some great spacers for raising the tonearm (as Rega cartridges are shorter than most).
Pat yourself on the back for a job well done! Now lock the tonearm back down and move your turntable back to its place in your system. Bear in mind, most new phono cartridges can sound a little shrill when they are brand new. Many take 50-100 hours of time to fully break-in and sound like they will for many years of enjoyment.
We hope this guide has made you feel like the turntable setup expert you should be at this point and you’ll be able to show off to your vinyl friends how to install their new cartridge! If you have any other setup questions (or any questions at all), hop into our online chat, email us, or give us a call. We are here to help!

Ortofon 2M Blue Phono Cartridge
$159.00

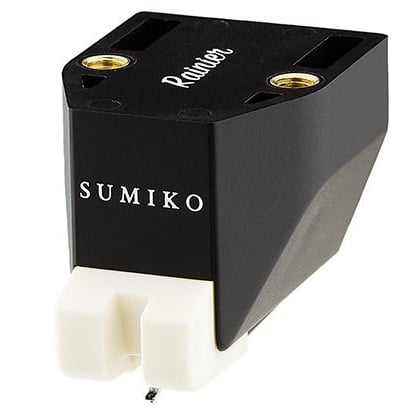
Sumiko Rainier MM Phono Cartridge
$179.00

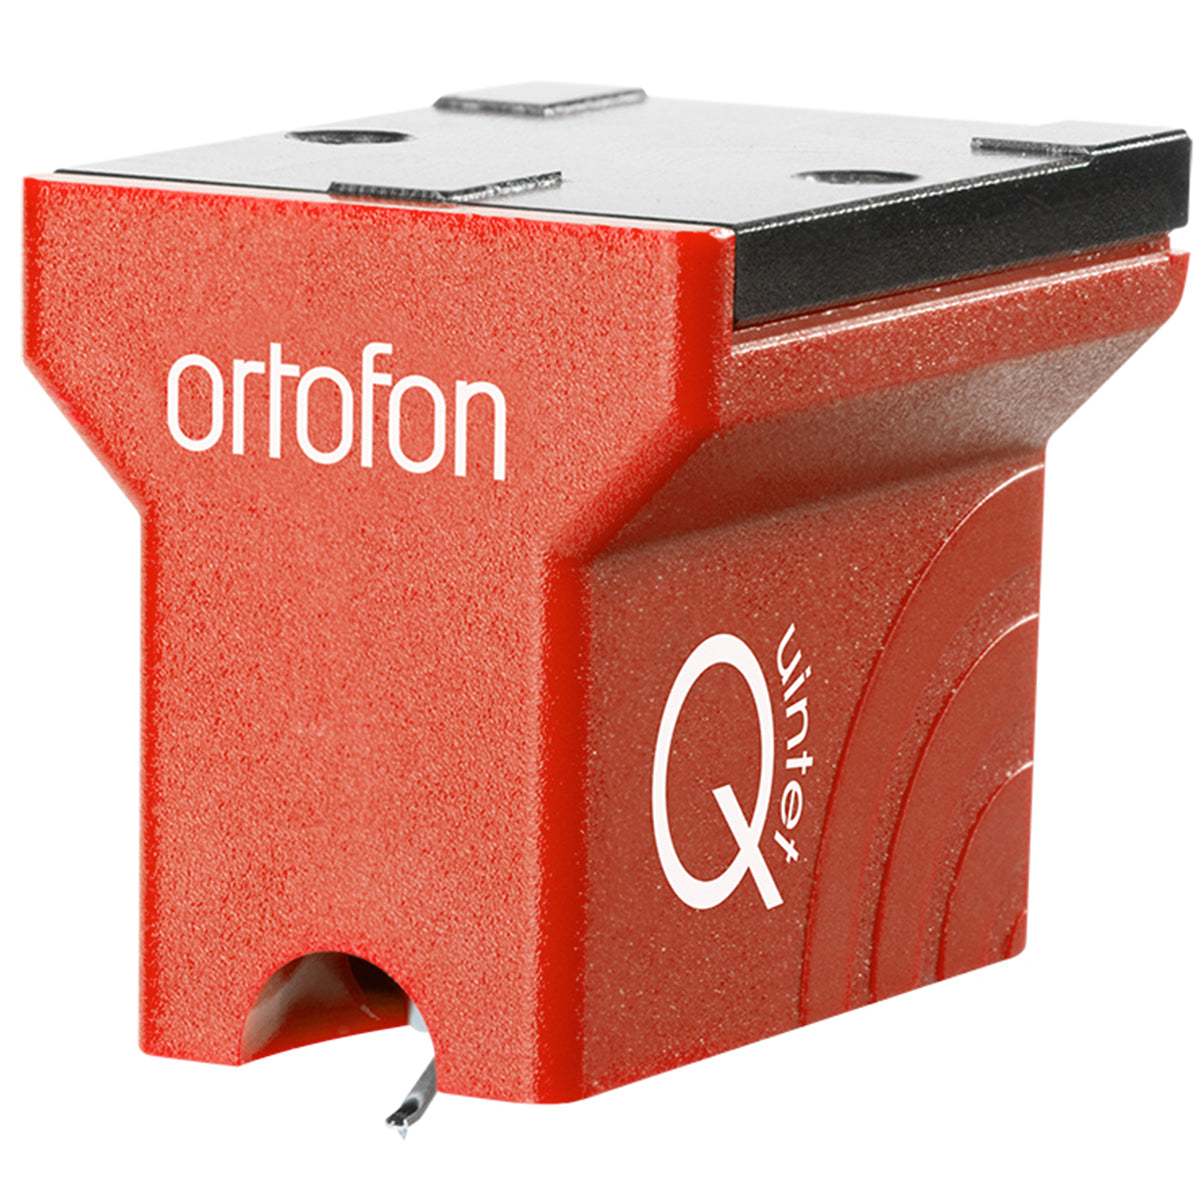
Ortofon MC Quintet Red Turntable Cartridge
$399.00
You'll be among the first to know about product launches, exclusive online deals, and the hottest audio trends.
8621 Glenwood Ave
Raleigh, NC 27617
919.881.2005
11409 Carolina Place Pkwy
Pineville, NC 28134
704.821.4510
5732 Oleander Drive
Wilmington, NC 28403
910.392.1200
support@audioadvice.com
888.899.8776
