Denon AVR Tips & Tricks
Setup Guide


 Home Theater
Show links
 Speakers
Show links
 Components
Show links
 TVs & Projectors
Show links
 Seating & Furniture
Show links
 Acoustic Treatments
Show links
 Cables & Accessories
Show links
 Featured & Deals
Show links
 Home Audio
Show links
 Speakers
Show links
 Components
Show links
 Cables & Accessories
Show links
 Outdoor Entertainment
Show links
 Acoustic Treatments
Show links
 Featured & Deals
Show links
 Turntables
Show links
 Turntables
Show links
 Phono Cartridges
Show links
 Phono Preamps
Show links
 Record Cleaning & Care
Show links
 Isolation Systems
 Cables & Accessories
Show links
 Featured & Deals
Show links
 Headphones
Show links
 Headphones
Show links
 Headphone Amps & DACs
Show links
 Featured & Deals
Show links
 Smart Home
Show links
 Deals
Show links

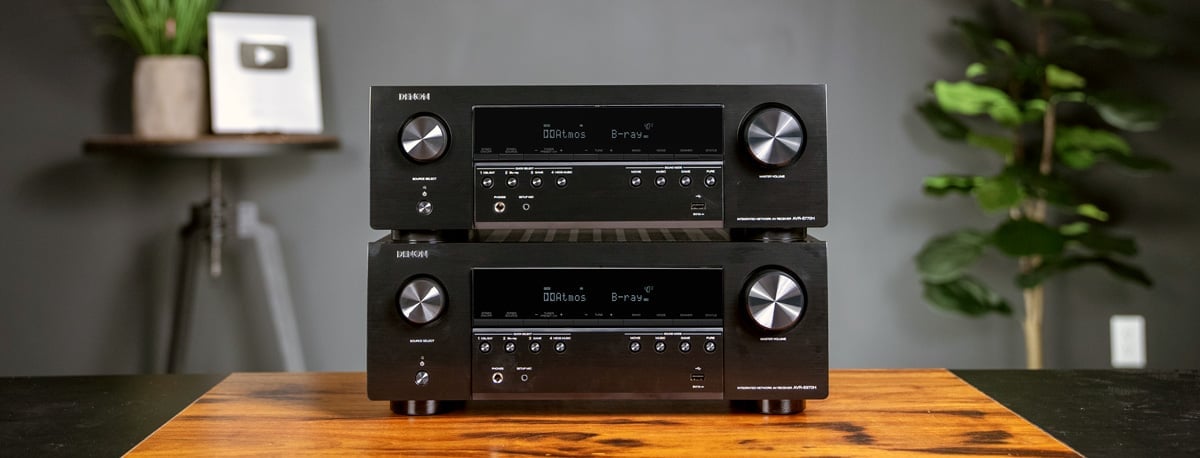
Congratulations on the purchase of your Denon home theater receiver! In this complete Denon AVR setup tips & tricks guide we will help you set up your new home theater receiver and get the best sound from it for your home theater.

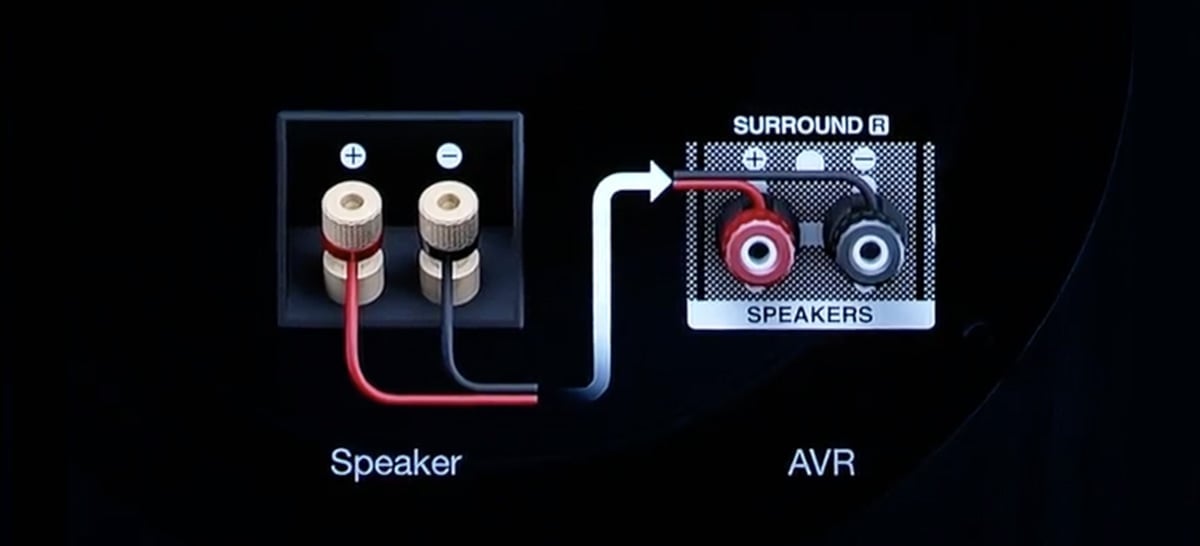
Before you start to connect things up, make sure the speaker wires at each speaker are already connected. Visually inspect each connection at the speaker to make sure no stray strands of wire are touching the other speaker wire. This can cause a short and can harm any receiver.
It's a good idea to label your speaker wires at the end that will be going to the speaker. A trick we use is to write down all of your speaker names, like left, center, right, etc. and then put a number beside each one. Then you can just write that number with a marker on your speaker cable or use a piece of tape with the number on it attached to the wire.
As you connect the wires to the proper connections, make sure you are keeping the positive and negative straight. And just like with your speakers, do not have any stray wires. Stripping off too much of the wire’s jacket can lead to this, so keep the strips to about ⅜” or so. Or better yet, use some banana plugs that will make connecting things up easier.

Gather up your source components and decide how and where you are going to connect them. We like to write down each source and put the connection it will go into beside the source name. This will make it much simpler when you go to rename your sources to match the actual name, like Roku, Apple, XBOX, etc. You can easily do this by pressing Setup/Inputs/Source Rename.
Hopefully, you have used our free, patented home theater designer to position all of your main speakers in the best possible position. If not, you can lay out your room and see what we mean here.
If you have a subwoofer, finding the best spot for it can make a huge difference in how it performs. We suggest you watch our video on how to setup a subwoofer.
Now you can just go through the Automatic Set Up GUI. But, before you can see this, you will need to connect an HDMI cable from the HDMI output to an input on your TV, turn on your TV, and select that input. Then simply press the Setup button on the remote, and on the first screen, scroll down to Set Up Assistant and go through the steps.
We highly recommend you do not skip the Audyssey calibration section, as this normally greatly improves the sound in most rooms. You’ll have a cardboard microphone stand you will use. If you place this on your chair or couch, try to get it as level as possible. It is very important for the microphone to point straight up. Also, if your chair is blocking the line of sight between the microphone and any speaker, either recline the chair or raise the stand enough to clear the back of the chair. Then, just follow the on-screen instructions.
Automatic room correction has gotten really good, but sometimes it will misread things. We suggest you go back and check things after it has finished. There are three things to check.


The first is the distances. You will need a tape measure for this; then press Setup, go to Manual Setup, then Distances.
Next is levels. For this, you should download a free sound meter app. We like Decibel X. Go to the Levels section, press start test tones, then go through each speaker. Just check to make sure each speaker reads about the same on the sound level app. If they are off, you can adjust them in the menu. A tip is if you have trouble understanding the dialog in movies is to boost your center channel level by about 3-4 dB. And if you would like to hear the special effects more, you can do the same with your surround speakers.
The final one to check is crossovers, which you will see in the menu. Normally, almost all of your speakers will be set to 80 Hz. If you see Audyssey set some to 60 Hz and others to 100 Hz, that is okay, but if any are beyond that, you should probably reset them to 80 Hz.
Finally, the center channel is a very important part of a home theater system. You should watch our video on how to optimize the center channel.
Once you have things set up, it's fun to play around with all of the different surround modes. It is not super clear how you access these, but it's pretty easy with the remote control. At the bottom section of the remote are four sound mode buttons. If you push "movie," for example, it repeatedly cycles through the different modes. Once you find one you like, when that input sees that type of signal, it will always go to that surround mode.
And speaking of this, you will really want to set up your new Denon receiver to upconvert to surround sound when it sees a stereo signal. This is a couple of extra steps but worth the effort. You will have to do it for each source, so if you have a cable box, satellite receiver, or streaming unit, be it separate or your TV, you need to do this for each one. First, you have to find a program that is in stereo. This is easy to notice as no sound will be coming out of the center channel speaker. Once you are there, push the movie sound button until you see “Dolby Surround”. Do this for each input. Now your Denon will upconvert stereo to surround
We hope this tips and tricks guide has helped you get the most from your new Denon receiver. And remember, our world-class team is here for you should you have any questions. Just reach out via www.audioadvice.com.
You'll be among the first to know about product launches, exclusive online deals, and the hottest audio trends.
8621 Glenwood Ave
Raleigh, NC 27617
919.881.2005
11409 Carolina Place Pkwy
Pineville, NC 28134
704.821.4510
5732 Oleander Drive
Wilmington, NC 28403
910.392.1200
support@audioadvice.com
888.899.8776
