7.4.4 Dolby Atmos Home Theater Setup
Complete with Revel Loudspeakers, JVC DLA-NX9 4K Projector, & JL Audio Subs!
 Home Theater
Show links
 Speakers
Show links
 Components
Show links
 TVs & Projectors
Show links
 Seating & Furniture
Show links
 Acoustic Treatments
Show links
 Cables & Accessories
Show links
 Featured & Deals
Show links
 Home Audio
Show links
 Speakers
Show links
 Components
Show links
 Cables & Accessories
Show links
 Outdoor Entertainment
Show links
 Acoustic Treatments
Show links
 Featured & Deals
Show links
 Turntables
Show links
 Turntables
Show links
 Phono Cartridges
Show links
 Phono Preamps
Show links
 Record Cleaning & Care
Show links
 Isolation Systems
 Cables & Accessories
Show links
 Featured & Deals
Show links
 Headphones
Show links
 Headphones
Show links
 Headphone Amps & DACs
Show links
 Featured & Deals
Show links
 Smart Home
Show links
 Deals
Show links

In this showcase, we will show you a killer 7.4.4 home theater that we installed in our customer’s unfinished 3rd-floor attic. In the video, you will see the full timelapse of the complete buildout from beginning to end, starting with the basic installation to the finished project. Finally, at the end of the video, you will have a sense of how this theater sounds, using our binaural mic setup that simulates the experience of sitting in the room. For those of you who subscribe to our YouTube channel, you know we like showcasing something new in every video. This time, we focused on showing you how to design a theater correctly, and then we provided our best practices for calibration with tips & tricks that you can use in your own theater.
Our customer had only one requirement when he moved into his new home — he had to have a dedicated home theater. We started by mapping out the room in our free home theater design tool. As our designer asked more and more questions, it became apparent that the customer also loves music and wanted this room to serve as a great audio listening room as well. This led us to design a full 7.4.4 system with high-performance speakers throughout.


We chose a JVC DLA-NX9 Projector with a brightness of 2,200 lumens, which is perfect for the 142” acoustically transparent screen in this theater.
If you are looking at projectors, the successor to the NX9 is the DLA-NZ9. JVC and Sony are the top projector brands for home theaters when it comes to true picture quality. What made this particular projector so great for this customer’s situation was the motorized zoom, so the customer could easily switch between 2.4 and 16:9 content with just the push of a button.
If you are into cameras, you will know how much the lens, itself, impacts the image. The NX9 has an 8-element 100mm all-glass lens. In addition to this, JVC is known for its fantastic HDR tone mapping technology. The NX9 also has a cool feature that will let the user input the screen gain and size to automatically adjust the tone mapping based on total light output coming off of the screen. This enables it to convert meta data in the film to provide the best brights and darks, simultaneously.
For those of you who are do-it-yourselfers, we actually send our best practices setup guide to all JVC purchasers so you can set it up to get the very best picture possible. If you are setting up your own theater, check out our video with our Top 5 Tips & Tricks For Optimizing Your Home Theater Video. It has some great calibration videos that we use in our installations just like this one.
If you are investing in a good home theater, the projector screen is one area to not cut corners. You may upgrade your surround sound processor or projector over time as new resolutions and formats come out. However, you will likely have your screen for much longer. There are plenty of cheap screens sold online, but we always recommend getting an extremely uniform screen that is well made.

For this theater, we used a 142” microperf acoustically transparent screen from Stewart Filmscreen. The screen is a 1.3 gain screen, which means the screen reflects 30% more light than a standard white board. Stewart Filmscreen is based in California, and they make this incredibly high-performance screen right here in the U.S. Since there is light control in the room, we were able to use a 1.3 gain screen — otherwise we would have needed to use a screen with a grayer material that contained less gain, but this would have reduced the brightness of the picture. However, since we installed the electronic shades in the back — as well as Control4 dimmers for the lights — we were able to combine the 2,200 lumen projector with the 1.3 gain to deliver an incredible picture.
When you are viewing an acoustically transparent screen during your movie, you want the sound to easily play through it, while not seeing any of the holes in the screen, which this screen does super well. Depending on the screen, you will also want some distance between the screen and your speakers. For this theater, we designated about 5” between the screen & the speakers, which is ideal for this screen.

In this particular room, installing in-wall and in-ceiling speakers allowed for more space for home theater seating and this also provided an overall cleaner, more spacious feel.
We used Revel W990 In-Wall Loudspeakers in the front. These feature a true three-way design, a 9” woofer, and they provide a host of room-correction controls, making them ideal for both movies & music. These full-range in-wall speakers offer true audiophile-grade performance, and as the pinnacle of their lineup, they incorporate many of Revel’s best speaker technologies. Installation was quick and fairly easy — and since the frameless grilles attach magnetically, the loudspeakers have an elegant look in the room. The high-frequency tilt and listener axis controls also helped compensate for less-than ideal speaker placement, and the boundary compensation switch allowed us to adjust each speaker to maintain tonal accuracy when placed near a corner, which helped prevent potential boominess.

Both surround and rear speakers are Revel W893 In-Walls, which are also three-way in-walls with 9” woofers. Like the W990s, the W893s offer boundary compensation and angled tweeters that angle sound directly at the primary listening position. The tweeter also offers a three-position output level switch, which allows you to cut or boost high frequencies — an invaluable feature for rooms with extensive reflective or absorptive surfaces.
In this room, we also have four Revel C783 in-ceiling Atmos speakers for full three dimension spatial effects. If you are doing this yourself, be sure to angle your Atmos speaker toward the primary listening position. Our home theater tool will show you exactly where to put the speaker in the room — whether you have 2, 4 or 6 Atmos speakers. Revel in-ceiling loudspeakers draw on the same research, resources, and unique perspectives that put all of their loudspeakers in a class all by themselves. Each model offers a standard-setting low sonic coloration and freedom from distortion over a wide dynamic range.

So now we get to the really fun part. To make a theater really hum, you need great bass. In this particular case, the customer wanted to do this right without cutting any corners —however, we didn’t have room to add large subs in the room. Instead, we opted for four JL Audio Fathom 13.5” subs. In the video, we wanted to spend a little extra time on how these subs were designed and set up, since this may help you think about your own potential theater. If you watch our videos on subwoofer placement and calibration, we cover all of the various combinations of subwoofer placement using one to four subs and how to properly calibrate them together.
In this particular theater, there were two discrete subwoofer outputs on the Anthem 1140, but we are using 4 total subs. For this, we placed the front two in-wall subs symmetrical to the primary listening position, and the side two subs symmetrical to the primary listening position. Then, we connected subwoofer 1 out to the amplifier, controlling the front two, and subwoofer 2 out to the amplifier, controlling the side two. So, once we set the distances for the subs, it was correct for all four subs.
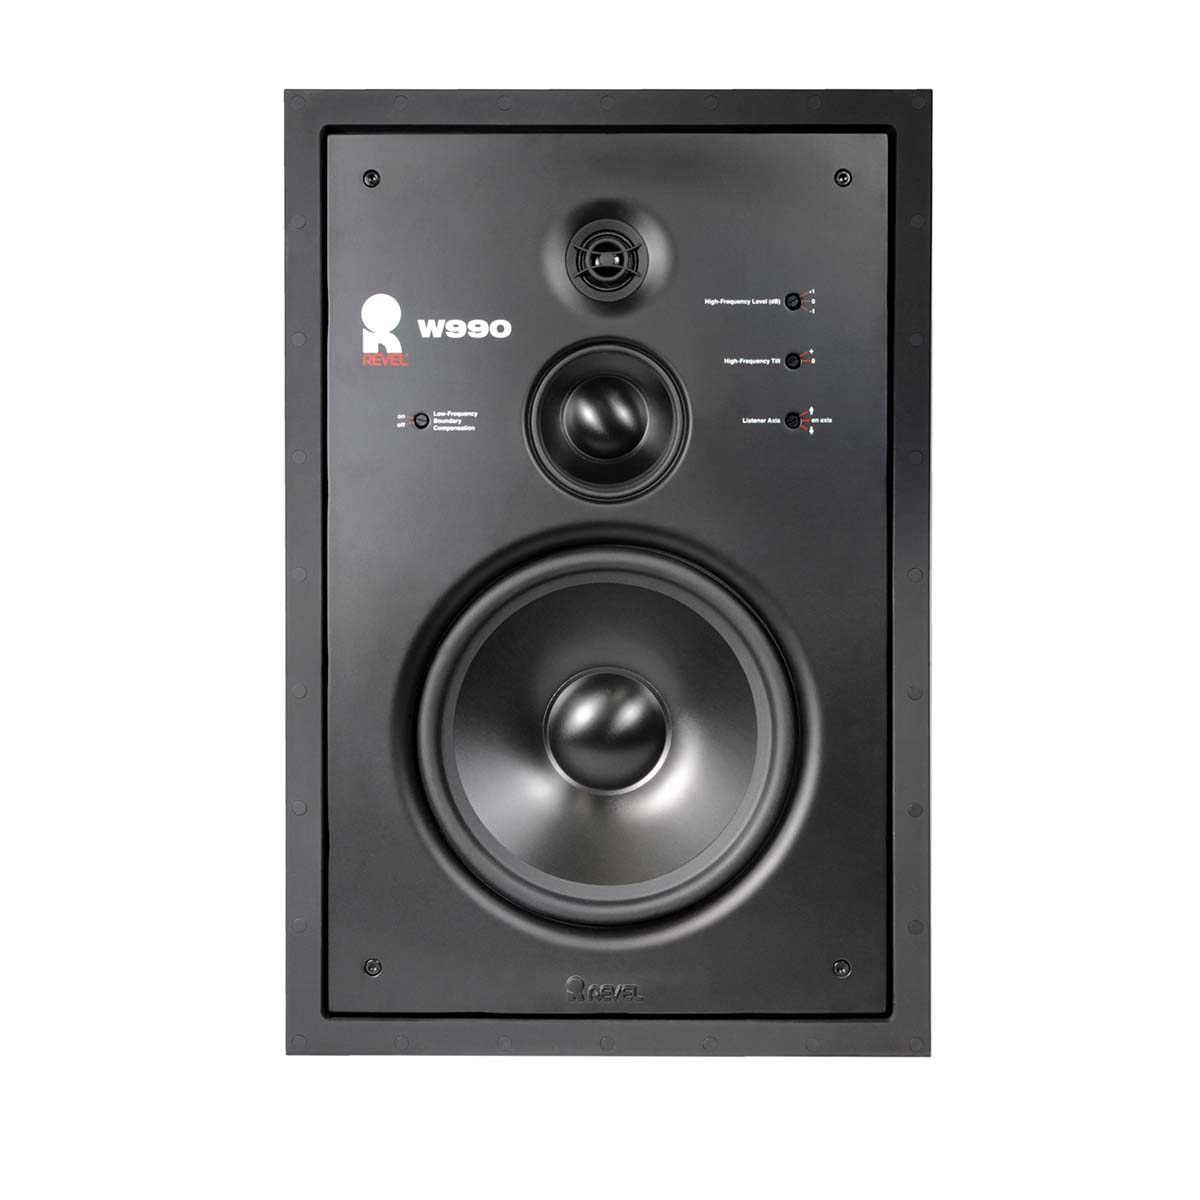
Revel W990 In-Wall Speaker
$1,925.00
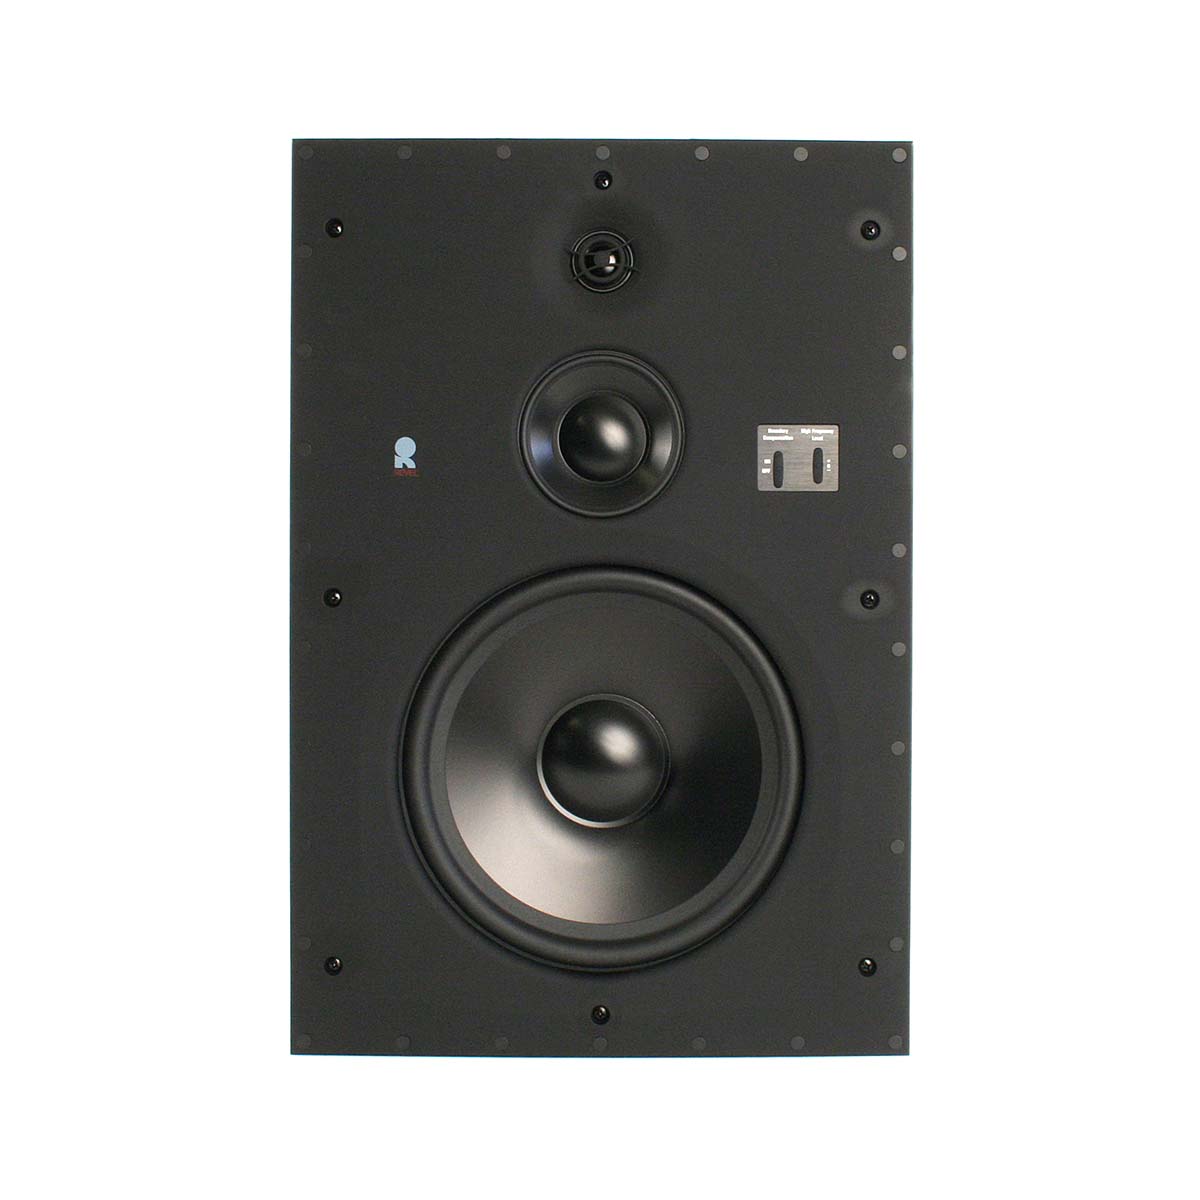
Revel W893 In-Wall Speaker
$1,100.00
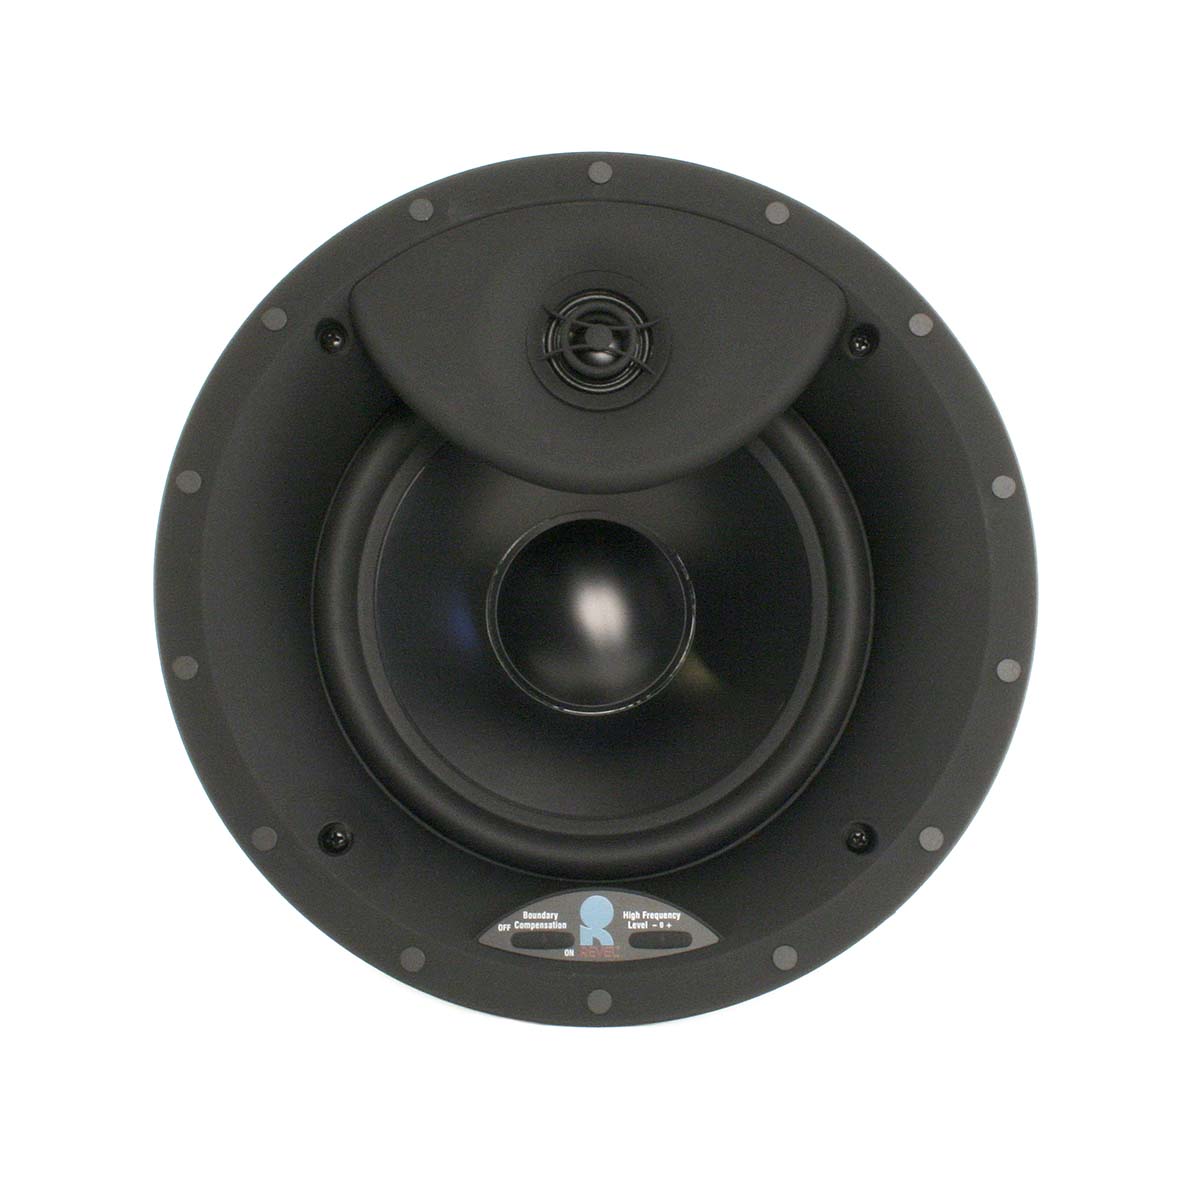
Revel C783 In-Ceiling Speaker
$660.00
However, there is one key trick here that we cover in the subwoofer calibration video. Because the JL Audio subwoofers have their own advanced EQ system, there is an approximate 12ms delay in these subs. When we measured the distance of the front subs from the primary listening position to put into the Anthem, it was actually not time aligned, correctly. We needed to trick the Anthem into thinking that the subwoofers were farther away than they really were to compensate for the 12ms delay. It turns out that a millisecond is about equal to 1 foot, so we increased the distance from 10 feet to 22 feet in the Anthem. Also, note that you will want to turn off the crossover on your subwoofers, and only use the crossover in your receiver. In the subwoofer calibration video, we show you exactly how to do all of this for any subwoofer including a test track that you can use if you don’t know the delay in your subwoofer.
We used some custom-made acoustic panels to give the room a good ratio of reflective and absorptive surfaces. The right acoustic panels can make an incredible difference in how you can hear into the finer details and subtle emotions portrayed in a movie. The panels we used are a combination of all absorptive and diffusion.
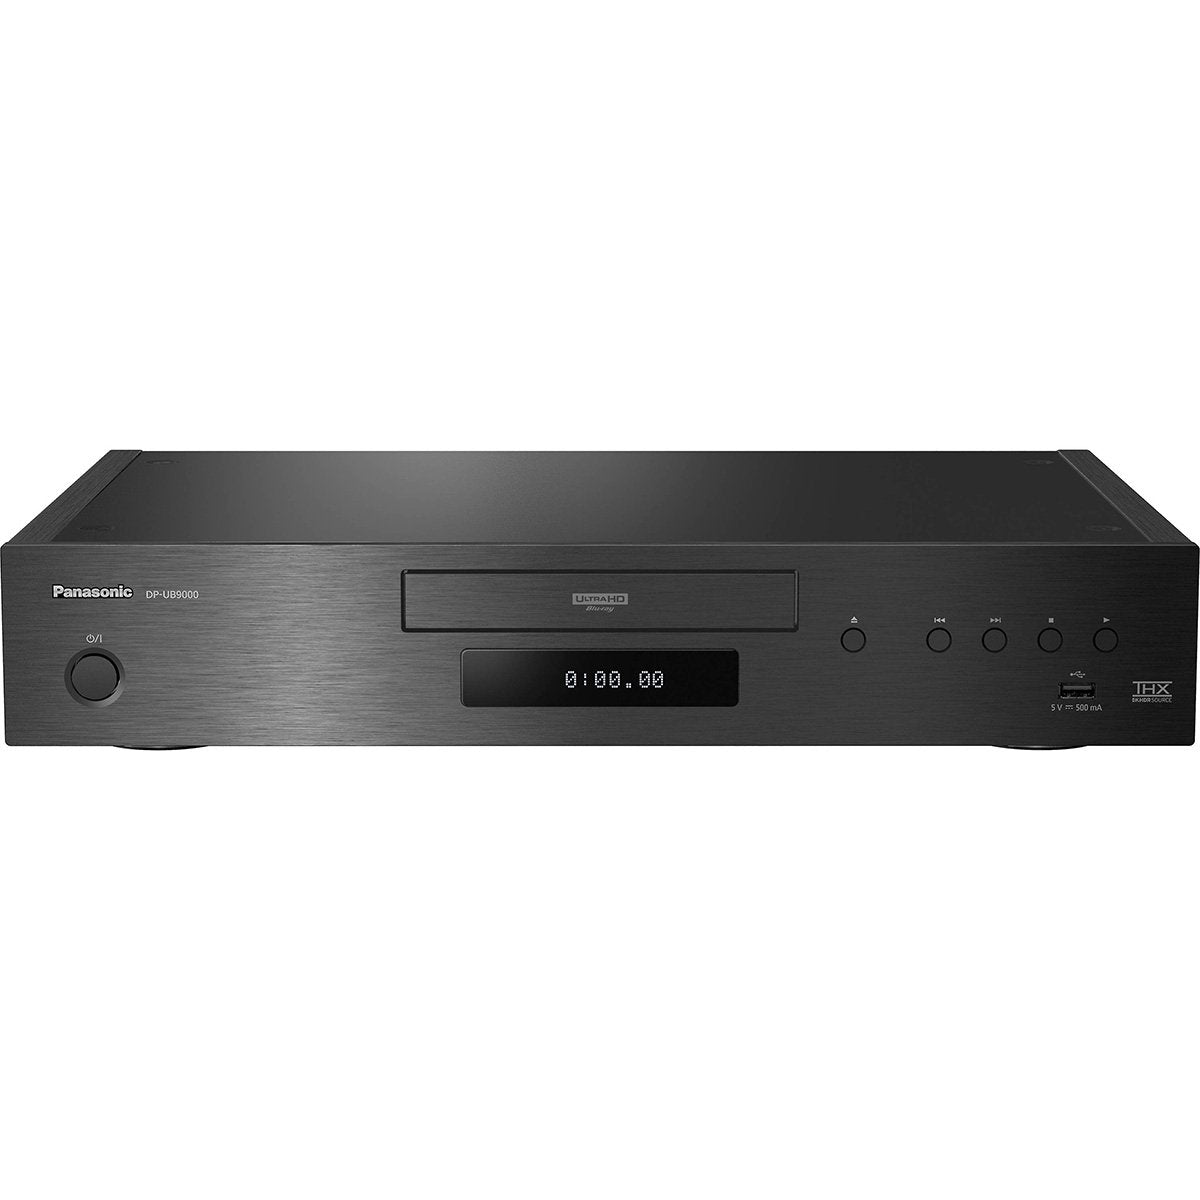
In the home theater rack, we placed an Anthem MRX 1140, Kaleidescape Strato S, Apple TV, Roku, and a Panasonic DP-UB9000 Deluxe Blu-ray Player.
We chose an Anthem MRX 1140 A/V Receiver for this theater. If you are building a full-blown Dolby Atmos home theater with eleven or more main speakers, the MRX1140 is a fantastic choice from both a sound and flexibility standpoint. It will cost less than adding a separate power amp (or amps) to the MRX740 to get to eleven channels, and this will drive most speakers with ease.
The Kaleidescape Strato S is a component-sized piece of gear that has an internal hard drive with 6TB of storage. The basic Strato S will hold more than 100 Ultra 4K HDR movies, or over 600 DVD quality movies. There is also an option to add Compact Terra or Terra servers later that will increase the storage capacity that the Strato S can access.
Kaleidescape is the highest-end movie player available in the world. The systems are not cheap, but if you have invested in an incredible home theater, then having a Kaleidescape as your movie source is the icing on the cake. It allows you to purchase movies that are bit-perfect — meaning unlike streaming services — you are getting the best possible picture with full lossless audio. If you want to learn more about Kaleidescape, checkout our full Kaleidescape Terra & Strato Overview.
If you are building your own system, be sure to check out our video on how to design and set up an audio/video rack.
With this many sources and a rack that is in a totally different part of the home, you will also need a great universal remote control system. In this case we are using a Control4 SR260 remote. You simply hit watch, choose your source, and Control4 does everything you need from turning on all of your components to switching the input on the Anthem. At Audio Advice, we also use the color buttons for setting lighting scenes so you can turn on all the lights, or turn them down for movie playing with just one touch.
We also use one custom button to change the screen to 16:9 for watching sports and network television, and another custom button to Zoom the projector to 2.4 for watching movies. The final custom button is used to open and close the electronic shades.
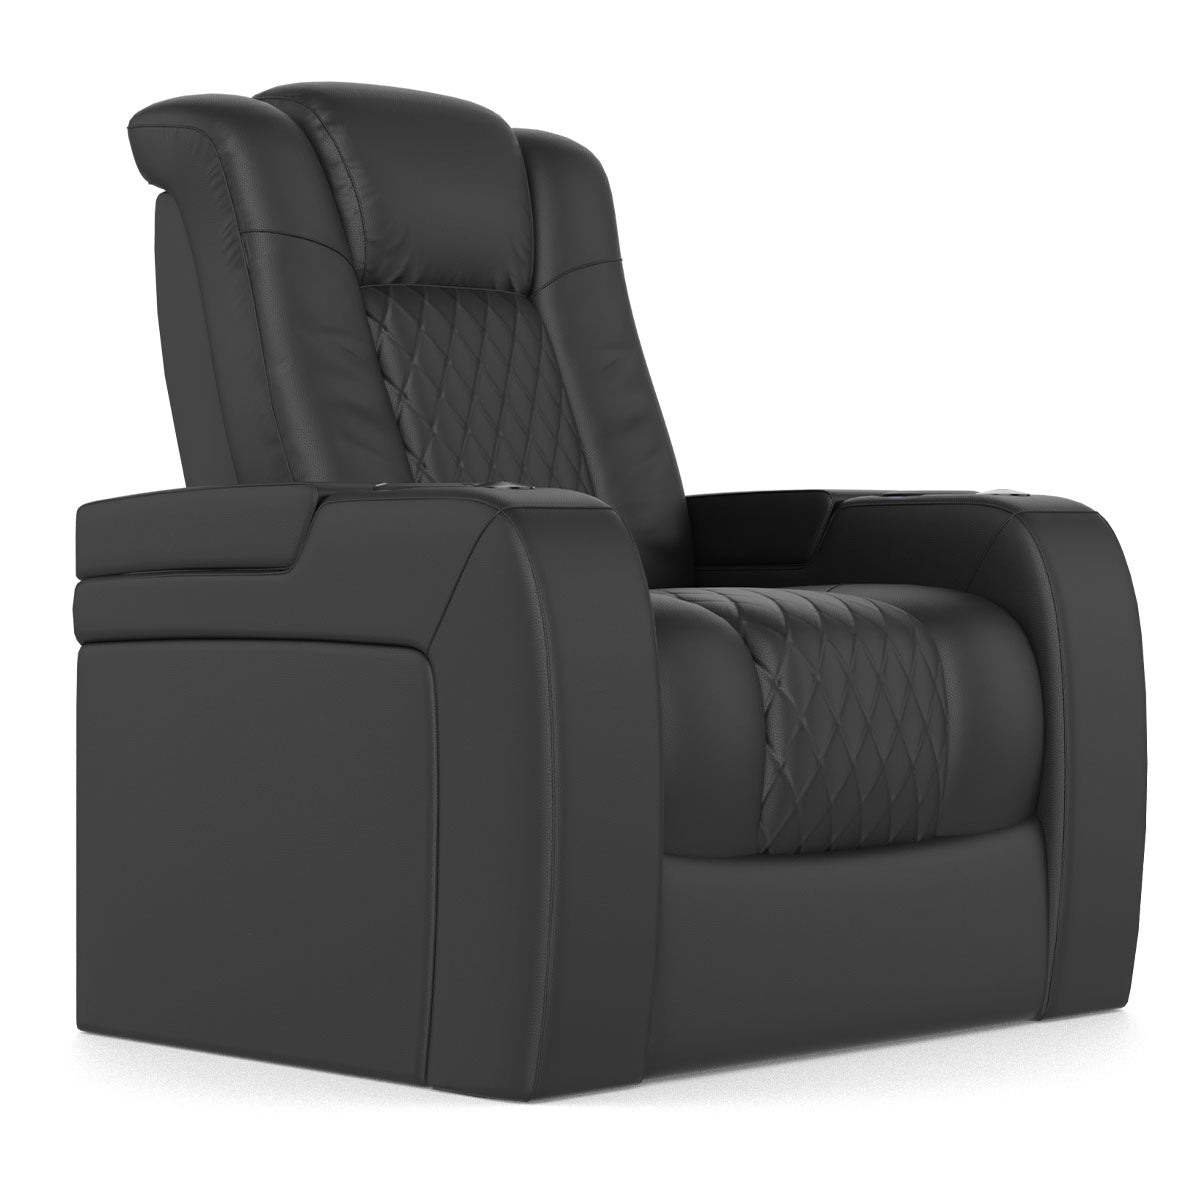
The Audio Advice Revolution Home Theater Chairs are our number one selling seat nationwide by far. They have both a recline motor and headrest motor. The headrest is designed at a 45-degree angle to hold your head correctly in any reclining position. They all come with premium tray tables that also hide in the arms of the chairs. They also include dual memory positions and a crumb catcher, so you don’t have to vacuum under the seat.

If you are thinking about building a home theater or updating yours, be sure to check out our free 3D home theater designer where you can design your system, see lots of videos of complete installations like this one, and browse our inspiration gallery and how-to videos.
At Audio Advice, we've been designing and installing high-performance home theaters & smart home systems for our customers in Raleigh, Charlotte, and Wilmington, North Carolina, and surrounding areas for decades. In fact, we've delivered more custom theaters than anyone in the Southeast! We are now offering Home Theater Design no matter where you live in the United States. If you are interested in a custom home theater or upgrading your current system, give us a call at 888.899.8776, chat with us, or stop by one of our award-winning showrooms.
You'll be among the first to know about product launches, exclusive online deals, and the hottest audio trends.
8621 Glenwood Ave
Raleigh, NC 27617
919.881.2005
11409 Carolina Place Pkwy
Pineville, NC 28134
704.821.4510
5732 Oleander Drive
Wilmington, NC 28403
910.392.1200
support@audioadvice.com
888.899.8776

